Arduino Voting Machine
The purpose of this tutorial is to show you how to build a simple Arduino-based voting machine using simple components such as push buttons and LCDs. This system has a unique feature in the sense that it utilizes the Serial Monitor in the Arduino IDE for the purpose of polling, instead of using any external applications for this purpose, in order to perform the polling operation. By doing this, the system can set itself apart from others of its kind.
Key Features:
- Every step of the polling operation will be under the control of the supervisor.
- Password-enabled security system.
- Poll results can be obtained instantly.
- Voters will be aware of the candidate he is voting for.
This simple project can be done with minimal components. The parts list are given below
- Arduino Uno - 1
- 16x2 LCD -1
- Push Buttons - As required
- Potentiometer 100k - 1
- Breadboard - 1
- Connecting Wires - As required.
DESIGN

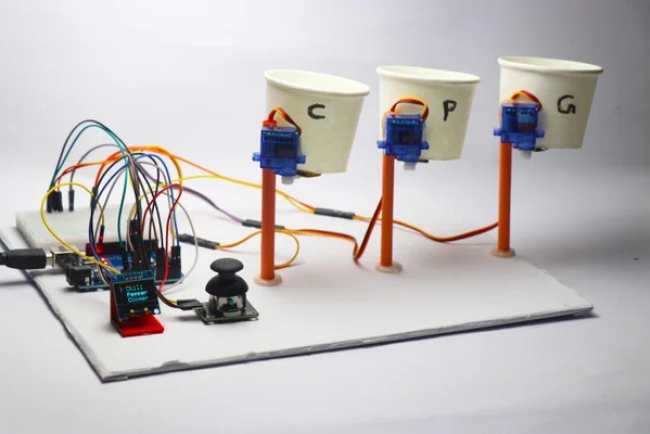
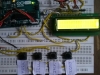
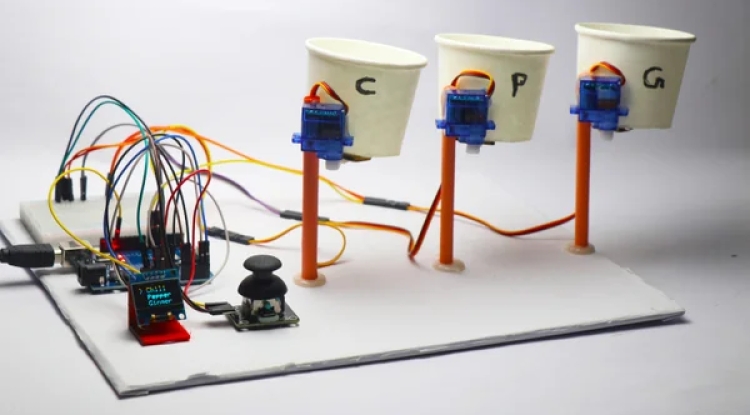
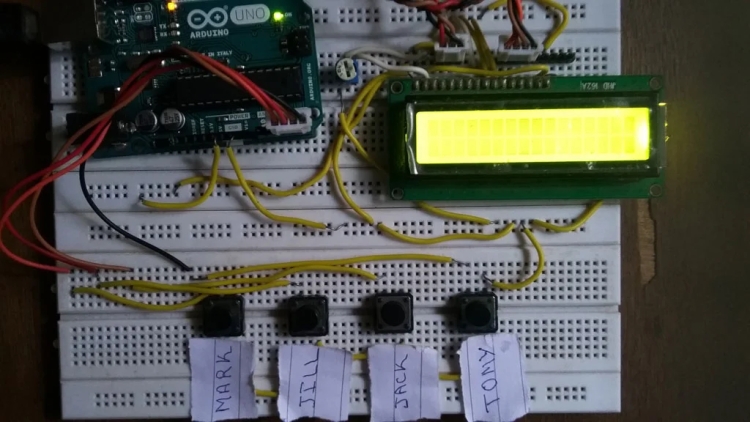
The design of the voting machine was given here. The Arduino reads the keypad input through the process of Polling. A 16x2 LCD was connected to the PORTD in 4-bit mode.

Now connect the buttons to a breadboard as shown in the diagram. You can increase the number of buttons you use based on the number of candidates for the poll. Affix the LCD along with the potentiometer to the board and finish up all the connections as shown in the schematic design.

ALGORITHM TO CODE:
-
Initialize the serial connection in your Arduino.
-
Wait for password input and check the input password matches with default one once it is entered.
-
If the input password is correct, grant access
to theuser unable to give command input. -
If “V” is pressed, start scanning the keypad to detect the vote input.
-
Allow only one single input by the voter and again wait for further command.
-
If “D” is pressed, send the poll tally to the serial monitor
from the Arduino.
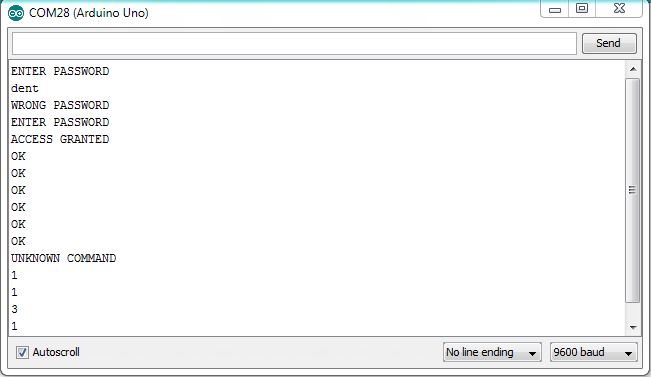
STEPS TO CONDUCT A POLL:
-
Open the Arduino IDE and then the serial monitor.
-
Enter the correct password.
-
Press “V” to allow
voters to cast their vote. -
Press “D” to display poll results.
-
As part of the voting process, each time a voter casts a vote, he or she must press the "V" symbol in order to give the next voter an opportunity to cast a vote.
CODE:
#include
int votes[4]={0,0,0,0};
char inbyte;
LiquidCrystal lcd(7, 6, 5, 4, 3, 2);         //LCD connections
  String pwd="VOTE";                         //Default Password
  String inpt="";
  boolean flag=false;
  boolean securitygranted=false;
  int i;

void setup() {
  pinMode(A2, INPUT_PULLUP);              //Setting pins as input
  pinMode(A3, INPUT_PULLUP);
  pinMode(A4, INPUT_PULLUP);
  pinMode(A5, INPUT_PULLUP);
  lcd.begin(16, 2);
  lcd.display();
  Serial.begin(9600);                    //Begin serial communication
  Serial.println("ENTER PASSWORD");
}

void loop() {
  while(flag==true)                     //Check flag for "V" command
  {
  if(digitalRead(A2) == LOW)
  {
  flag=false;
  lcd.print("MARK");                  //Example candidate name
  votes[0]=votes[0]+1;
  }
  else if(digitalRead(A3) == LOW)
  {
  flag=false;
  lcd.print("JILL");
  votes[1]=votes[1]+1;
  }
  else if(digitalRead(A4) == LOW)
  {
  flag=false;
  lcd.print("JACK");
  votes[2]=votes[2]+1;
  }
  else if(digitalRead(A5) == LOW)
  {
  flag=false;
  lcd.print("TOMY");
  votes[3]=votes[3]+1;
  }
  }
}

void serialEvent()
{
  while(Serial.available())
  {
   inbyte=(char)Serial.read();                   //Reading incoming character
   if(securitygranted==false)
   {
    inpt += inbyte;
    inbyte='\n';
   }
  }
  commandcheck();
}

void commandcheck()
{
  switch (securitygranted)                    //See for the security permissions
  {
    case false: {
      if(inpt==pwd)                          //Checking for password match
        {
          securitygranted=true;
          inbyte='\n';
          inpt="";
          Serial.println("ACCESS GRANTED");
        }
       else if((inpt!=pwd)&&(inpt.length()>3))        //Mismatch
       {
          Serial.println(inpt);
          inpt="";
          inbyte='\n';
          Serial.println("WRONG PASSWORD");
          Serial.println("ENTER PASSWORD");
          Serial.end();
          delay(100);
          Serial.begin(9600);
       }
       break;
              }

   case true: {
      if(inbyte=='V')
        {
          flag=true;                             //Allowing voter to cast a single vote
          Serial.println("OK");
          lcd.clear();
          inbyte='\n';
        }
      else if(inbyte=='D')
        {
          for(i=0;i<=3;i++)                       //Displaying vote tally
          Serial.println(votes[i]);
          inbyte='\n';
        }
      else
        {Serial.println("UNKNOWN COMMAND");}
        break;
             }
  }
}
NOTE: You can enhance the number of candidates by utilizing the unused pins. Ensure that you complete the voting process in one attempt, as the Arduino will reset each time the serial monitor is accessed. You may consider writing the vote data to the internal EEPROM for long-term storage.
What's Your Reaction?